ASP.NET Core Web Project with Areas
Visual Studio 2019 Community Edition
- Open Visual Studio 2019 Community Edition.
- Click on the 'Create a new project' option.
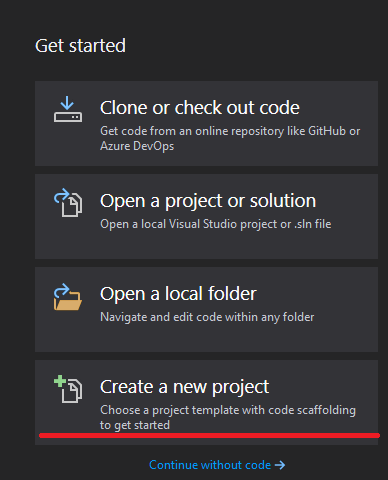
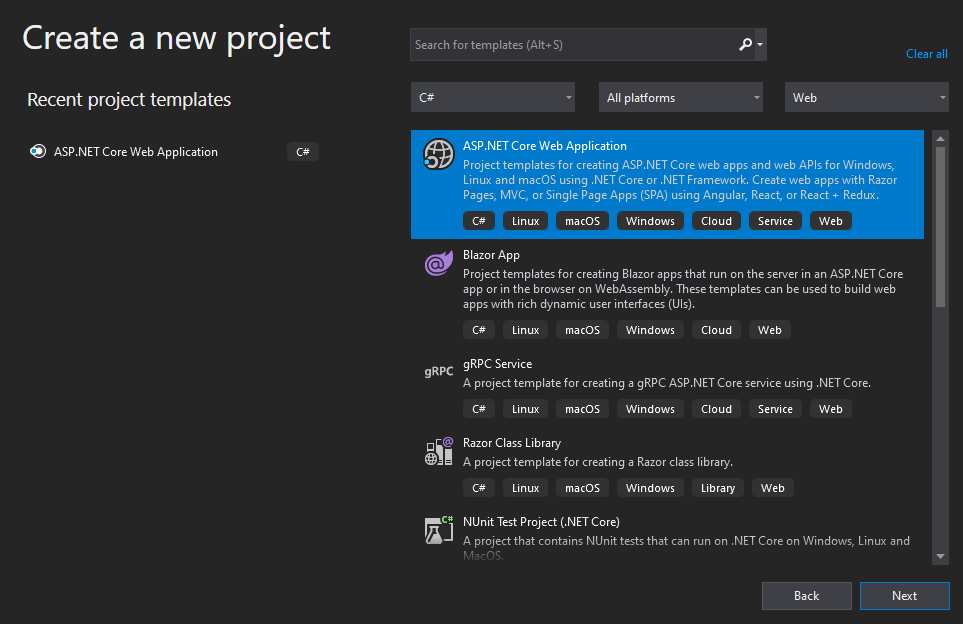
- Select C#, All platforms, Web and ASP.NET Core Web Application and click 'Next'.
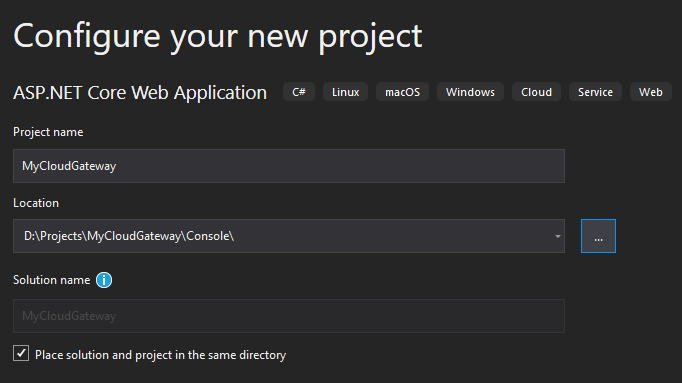
- Supply your Project Name and Location and click the 'Create' button.
- Select:
.NET Core
ASP.NET Core 3.0
Web Application (Model-View-Controller)
No Authentication
Configure for HTTPS
- and click 'Create'.

NuGet packages
Open Tools > NuGet Package Manager > Package Manager ConsoleCopy the below line after PM> and press Enter.
Install-Package Microsoft.AspNetCore.Mvc.Razor.RuntimeCompilation -Version 3.0
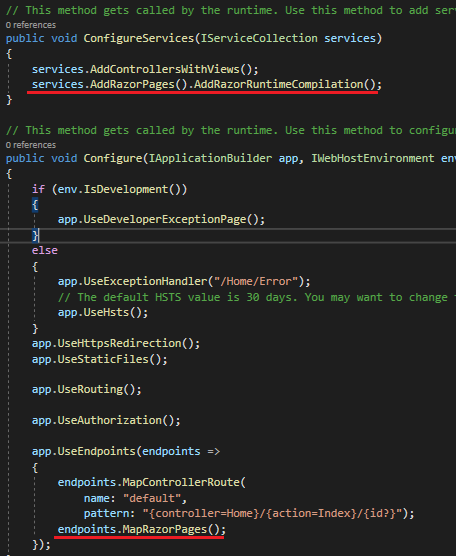
Add code in Startup.cs to enable package
services.AddRazorPages().AddRazorRuntimeCompilation();
endpoints.MapRazorPages();
Add Areas
- Add new folder called 'Areas'.
- Add new area 'Identity' to your project.
- Delete file 'ScaffoldingReadMe.txt'.
- Remove folders Data and Models underneath the 'Identity 'area.
Controller linked to Area
- Create 'AccessController' controller in your 'Identity 'area..
- You have to specify inside the controller what area the controller belongs to.
- Add [Area("Identity")] above 'public class AccessController : Controller' in your controller
Update Routing in Startup.cs
- Update routing in your StartUp.cs file:
pattern: "{area=YourAreaName}/{controller=Home}/{action=Index}/{id}"
Copy _ViewImports.cshtml & _ViewStart.cshtml files
Copy the _ViewImports.cshtml & _ViewStart.cshtml files to the Views folder of your 'Identity 'area. to be able to use tag helpers and the _Layout.cshtml template page
Update the _ViewStart.cshtml Layout to Layout = "~/Views/Shared/_Layout.cshtml";